Studio Notes: Five Mini Experiments to Learn Tree Identification
Question: Can a series of short, focused exercises make you reliably recognise a handful of local trees? In these studio notes I tested five small experiments that each emphasise a single cue—leaf, bark, bud, habit (shape) and then a combining exercise to solidify the skill. Each experiment takes 20–45 minutes and is designed for repeat practice.
Experiment 1 — Learn Leaf Shapes and Arrangements
Process
- Materials: notebook, pencil, small envelope or bag, camera or phone, field guide or simple cheat-sheet with leaf shapes (simple, compound, lobed, serrated), a quiet spot with varied trees.
- Steps:
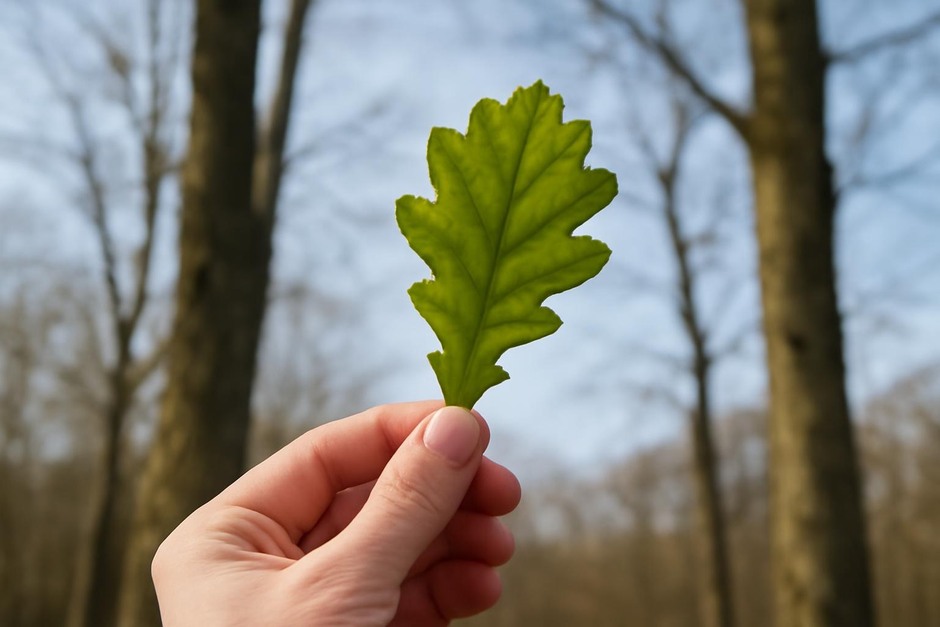
- Choose three nearby trees you don’t yet know. Collect one representative leaf (or a small twig with leaves) from each and place it in the envelope.
- Observe and sketch each leaf in your notebook: note overall shape, margin (smooth, toothed), and whether leaves are opposite or alternate on the stem.
- Compare your notes to the cheat-sheet and assign a likely leaf type to each specimen.
Review
What you should learn: recognising the difference between opposite and alternate leaf arrangements is especially powerful—maple vs. oak, for instance. Repeat this exercise with five different species until you can describe the leaf without looking at a guide.
Experiment 2 — Bark Texture and Pattern
Process
- Materials: small strip of paper and pencil (for bark rubbing, optional), camera, notebook.
- Steps:
- Walk a short loop and pick three trees with distinct-looking trunks. Observe from arm’s length and then close up—note colour, fissures, ridges, peeling plates, or smoothness.
- Optionally make a quick bark rubbing: place paper against bark and rub pencil over it to capture the texture.
- Sketch or photograph the key pattern and write a one-line descriptor (e.g., « deep vertical fissures, dark brown »).
Review
What you should learn: some species are more easily identified by bark than leaves (especially in winter). Try to link bark descriptors with the trees from Experiment 1 to start building associations.
Experiment 3 — Buds and Winter Clues
Process
- Materials: hand lens or magnifying glass (optional), notebook, camera.
- Steps:
- Locate several small twigs with visible buds. Note bud placement (opposite or alternate), bud shape (pointed or round), and whether buds are hairy or smooth.
- Photograph and sketch the bud, then describe it in one sentence. Compare opposite vs. alternate placement to earlier leaf arrangement notes.
Review
What you should learn: buds are a reliable winter feature and reinforce what you noticed about leaf arrangement. After this exercise you’ll have a mental checklist for winter ID.
Experiment 4 — Tree Habit and Silhouette
Process
- Materials: open space to step back, notebook, camera.
- Steps:
- From 10–20 metres, study the overall shape of three trees: columnar, rounded, vase-shaped, multi-stemmed, or conical.
- Sketch quick silhouettes and label them. Note branching density and crown outline.
Review
What you should learn: habit narrows options quickly—willowy, columnar, or broad-crowned species are distinct. Habit plus leaf arrangement often points to a confident ID.
Experiment 5 — Combine Cues into a Simple Field Key
Process
- Materials: your accumulated notes, a quiet spot, five target trees you want to learn.
- Steps:
- For each target tree, write a two-line key using the most reliable observations you made (e.g., « Leaves opposite; bark smooth; habit vase-shaped = likely species X »).
- Test the key by asking a friend to use only your two-line notes to identify the trees from a short walk.
Review
What you should learn: condensing observations into a short key forces you to pick the most diagnostic clues. You’ll quickly see which cues are repeatable and which are ephemeral.
Final Review: After these five experiments you should be able to make rapid, evidence-based guesses at the identity of common local trees. Repeat each exercise in different seasons—the same leaf looks different in spring, bark shows lichens in autumn, and buds matter in winter. Next steps: expand your set of target species from three to ten, and keep a small pocket card with your two-line keys for field practice. These mini experiments convert passive noticing into reliable skills—one short walk at a time.